
Adding a Project to Your Schedule Follow
In order to create a print run on your system, you will need to add the project into the Production Module. You may be moving it from Pre-Production rather than Title Manager, which we refer to as Moving an Idea from Pre Production to Production. In this article, we will assume that the title already exists in Title Manager.
In the screenshot below, we are in the first tab.
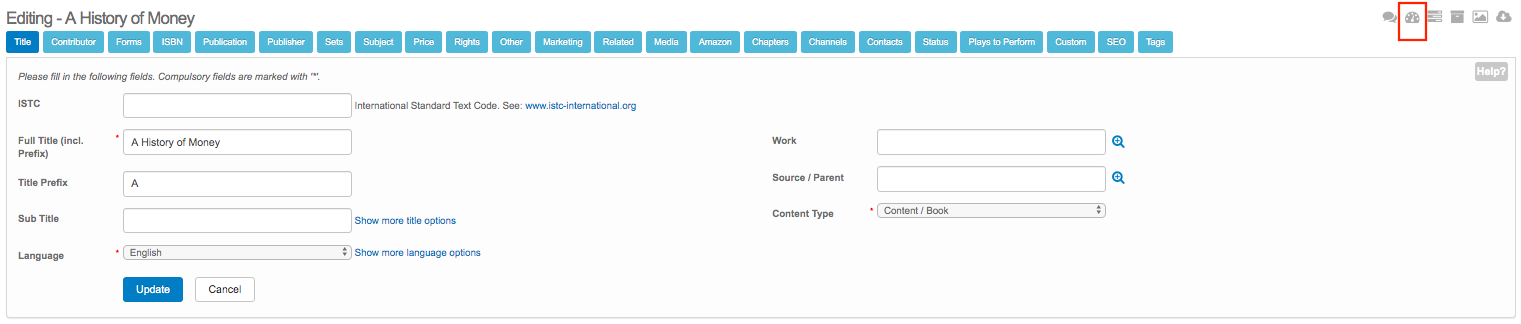
1. The item we have marked in the red box, when you toggle over it with your mouse, will bring up a little note that reads: Go To Production. This is the button you need to click first.
You are now creating a 'project' specifically related to the title you have chosen to add to your schedule:
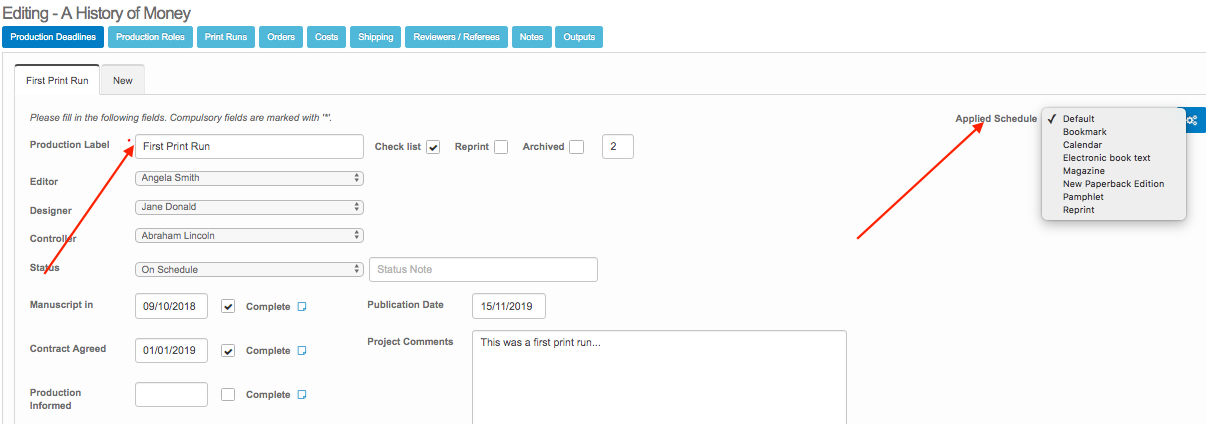
2. The next thing you are required to do is to give the project a Production Label. This is a field that you will populate manually. As an example we've written: First Print Run.
3. Check that the Applied Schedule is accurate. In the screenshot above, you can see that we have clicked on the drop-down menu. By the time you're adding titles to your Production Manager, this menu will have already been populated by creating your schedule templates. They will be specific to the schedules your organisation uses.
4. When you click on the relevant schedule, the items within the Editorial Deadlines and the Production Deadlines tabs will adjust to incorporate all of the tasks and costs that are stored against that template. You can then go in and start adding the dates where possible and continually throughout the title's schedule as it goes from concept to delivery. Please note that it is possible that someone might alter a schedule template that is already allocated to a project on the schedule.
5. Allocate the key roles from the drop-down menus so the relevant members of staff who will be contributing to this production schedule are listed accordingly (as shown in the screenshot below). This includes the editor, designer and production controller. Please note that this is not the same as allocating the staff to individual tasks on the Production Roles tab.
6. Click on the Update button to save the information you've added.
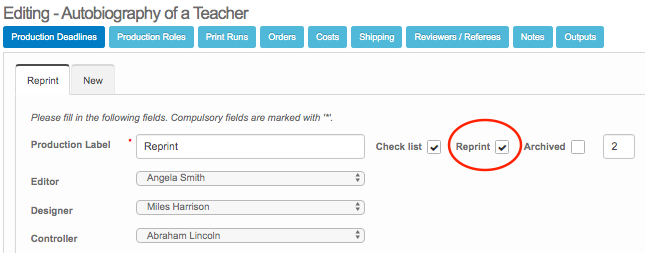
Reprints:
You will need to do something else when adding a reprint on your production schedule. Ensure that you keep the publication date as its original date, and tick the "reprint" option as shown in the shot below:
Top Tip:
Please note that when you review a reprint on your production reports, you will need to organise the data by 'production dates' rather than 'pub date'. This is because to ensure a complete and accurate record of a title's printing history, the original publication date must be maintained.
You can also manipulate the information and data within the other tabs that are available here. As with any part of the Stison system, you have a lot of options available for you to use, catering them all to the needs of your company. We will take you through what we believe to be the key items.
You are now ready to move to the next step: Assigning Staff to Your Production Schedules.
Comments
0 comments
Please sign in to leave a comment.